Install an ActZero VM from ISO
Estimated Time to Complete: 30 minutes
Installing an ActZero virtual machine (VM) in your environment enables ActZero to collect the log file information it needs to monitor and detect events in your environment for signs of suspicious activity and initiate network vulnerability scans.
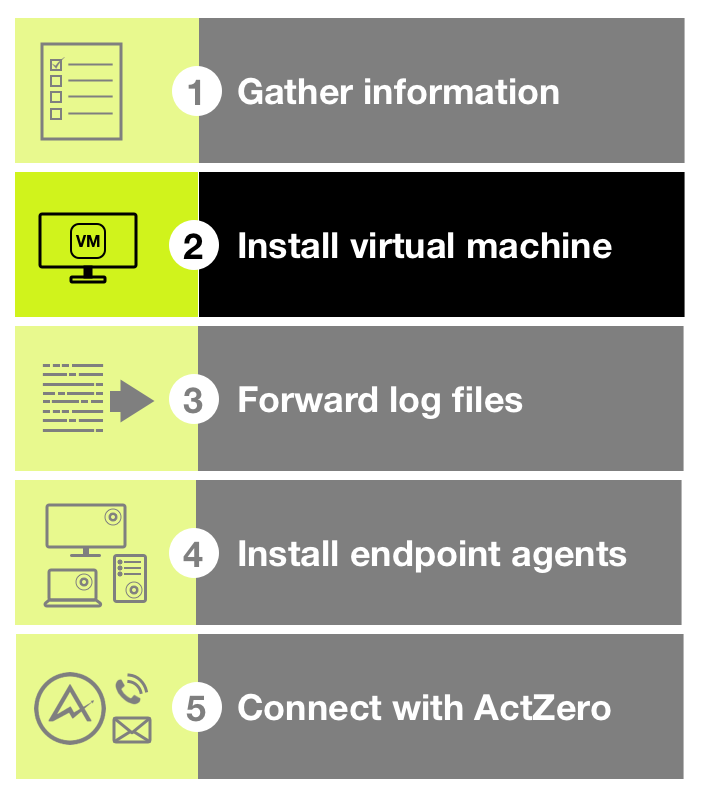
Use the following instructions to provision a VM by installing a guest operating system from an ISO image file. Setting up an ActZero VM is the second step in the overall ActZero onboarding process; refer to Get Started for an outline of the onboarding steps.
VM Networking Prerequisites
The VM requires access to some web services to provide the required coverage. If you have a web proxy or strict firewall rules please ensure the VM has access to the following sites:
CrowdStrike - for EDR security on the VM
- api.us-2.crowdstrike.com
- ts01-gyr-maverick.cloudsink.net
- lfodown01-gyr-maverick.cloudsink.net
Docker - for metrics from the VM
- registry.hub.docker.com
- download.docker.com
- production.cloudflare.docker.com
Ubuntu - for security updates on the VM (note that many Ubuntu mirrors are set up for HTTP and port 80/443 should be allowed)
- changelogs.ubuntu.com
- us.archive.ubuntu.com
- esm.ubuntu.com
- security.ubuntu.com
Python - for updates to Python components of the VM
- pypi.org
- files.pythonhosted.org
VM Communication - for cloud connection
- warden.mdr-prod.intelligonetworks.com
- allow outbound UDP 4501 and TCP 443
Note: If your firewall does not accept FQDN entries the above sites will need to be entered as IPs and will need to be updated on a periodic basis as IPs can change over time. To find and extract the IPs for a FQDN run the following:
nslookup <address>likenslookup api.us-2.crowdstrike.com
Create a Virtual Machine
| System Requirements | |
|---|---|
| Hypervisor | VMware ESX 6.0 or later Hyper-V 2012 R2 or later |
| Computer Processing Units | Minimum 4 Core 2.2GHZ |
| RAM | Minimum 8 GB |
| Disk space | Minimum 100 GB |
Install a guest operating system from an ISO image file
- Download the ActZero ISO image file to a location in your system that the host can access, ideally on the host’s local drive such as
C:\Temp(Windows) or/tmp(Linux, MacOS). Contact ActZero for a link to the file. - In your VMware hypervisor, create a new virtual machine. When the Guest Operating System Installation prompts you to specify where to install the virtual machine from, select Installer disc image file (iso).
- Follow the guided steps to locate and select the ISO image file you downloaded. Deselect Power on this virtual machine after creation, then complete the guided steps.
- You must edit the virtual machine settings so that its virtual CD/DVD drive uses the ISO image.
- In Edit virtual machine settings in the Hardware tab, select CD/DVD drive.
- Select Connect at power and Use ISO image file, then locate and select the ISO image file you downloaded.
- Click OK to complete.
Installation Notes on Hyper-V
On Hyper-V installations running on Windows Server 2012R2, it is possible to encounter reboot loops.
These are the current known issues and workarounds:
- For Windows Server 2012R2, it is possible for some VM deployments to go into a reboot loop. To avoid this, select G1 as the VM generation.
- A reboot loop issue can occur when VLAN tagging is enabled on the VM. Disabling the VLAN tagging can help overcome this problem. This seems to be a known bug.
Disabling Secure Boot
If running a VM as a Generation 2, secure boot must be disabled in the VM settings. The location may vary depending on the Windows Server version.
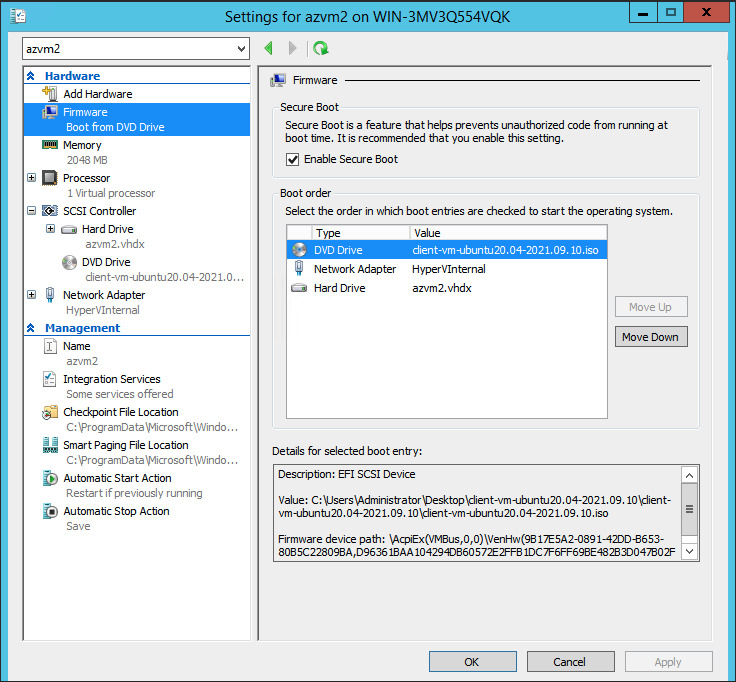
Windows Server 2012R2
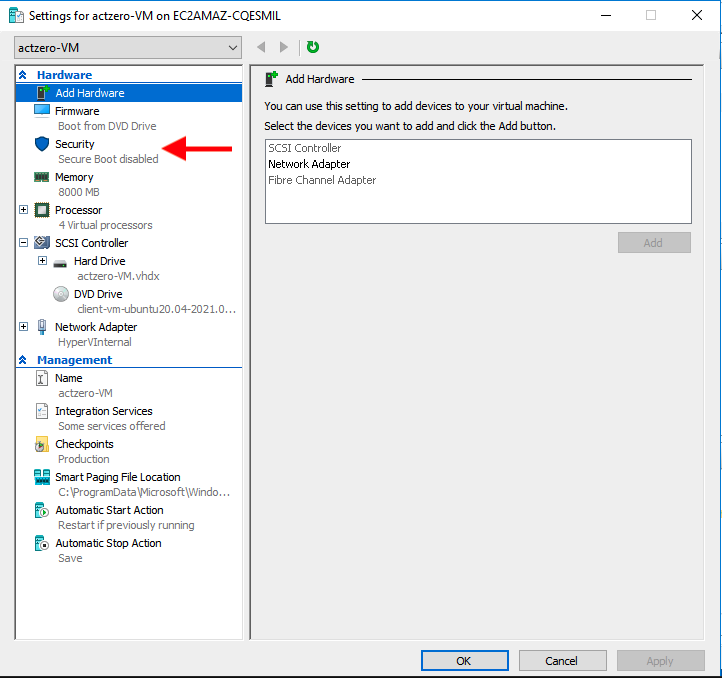
Windows Server 2016 - 2019
Configure the Virtual Machine
Power on the virtual machine to let it boot up and use the following instructions when prompted.
-
Network Configuration prompt - Use arrow keys to navigate to the Interface item and hit Enter to open a context menu.
-
Select Edit IPv4 and hit enter to open the context menu (the method will appear Disabled).
- Select either DHCP or Manual. If using DHCP we recommend setting a reservation to ensure the VM receives the same IP.
For Manual Configuration:
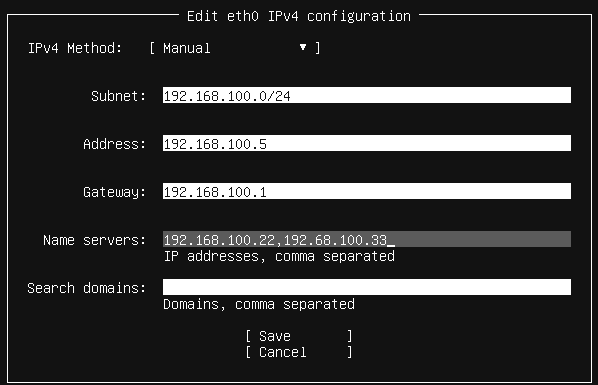
- Subnet - Provide the subnet (not the same as a subnet mask) for the IP address, assigned by the network administrator. This must be in a CIDR format.
- Address - Provide the IP address assigned by the network administrator. This will be the address used to forward firewall syslog data to.
- Gateway - Provide the default gateway
- Name Servers - Provide at least one internal DNS server. If none are available provide at least one public resolvers such as Google (8.8.8.8), CloudFlare (1.1.1.1), etc.
- Select Save and move to the next step by selecting Done.
- Select Done and hit Enter on the File System Summary.
-
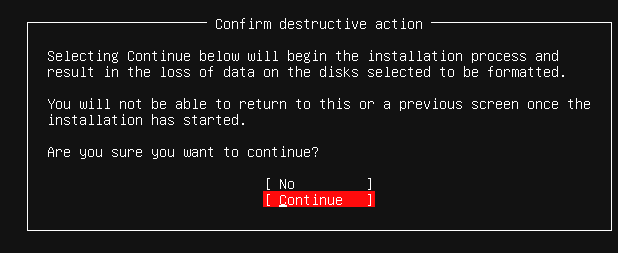
Select Continue on the Destructive Action Warning
-
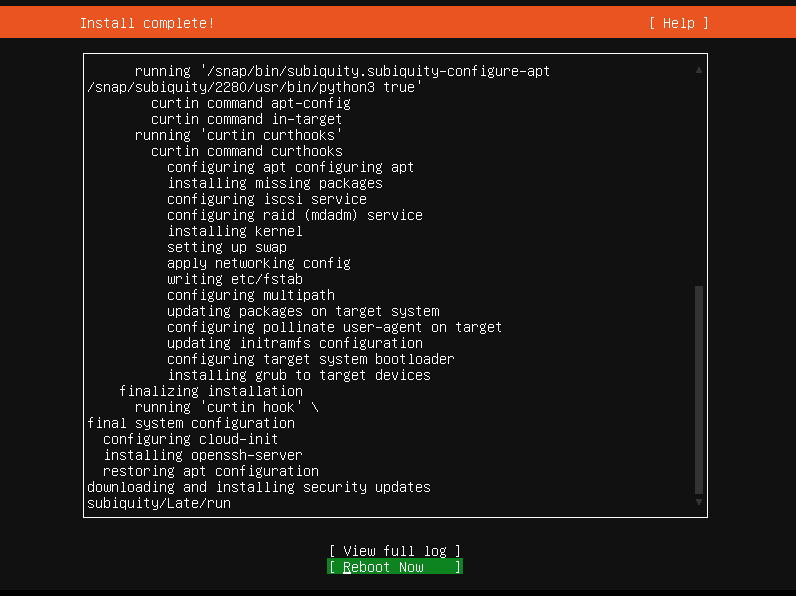
Complete Installation prompt - At this point, the installer will finish its last steps. Select Reboot Now once the installer is complete.
Depending on the hypervisor in use, it may have removed the ISO as a cdrom already. If you get a message that unmounting /cdrom failed, press Enter to continue.
-
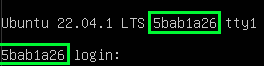
Please Note: The VM will have a randomly created hostname. Please provide this hostname to your TAM. e.g. 5bab1a26
SSH to the VM using the username “deploy” and password "deploy"
Once logged in, run the command sudo ifconfig prod
This will check for the existence of the VPN connection and will show the virtual interface prod configuration.
If the output looks like:
prod: error fetching interface information: Device not found
then there was an issue establishing the VPN connection. Please have your Technical Account Manager escalate to support.
Go further
- Set up log forwarding on all the firewalls in your network infrastructure.
Was this documentation helpful? Please send us your feedback!