Install an ActZero VM on AWS
Estimated Time to Complete: 30 minutes
Installing an ActZero virtual machine (VM) in your environment enables ActZero to collect the log file information it needs to monitor and detect events in your environment for signs of suspicious activity and initiate network vulnerability scans.
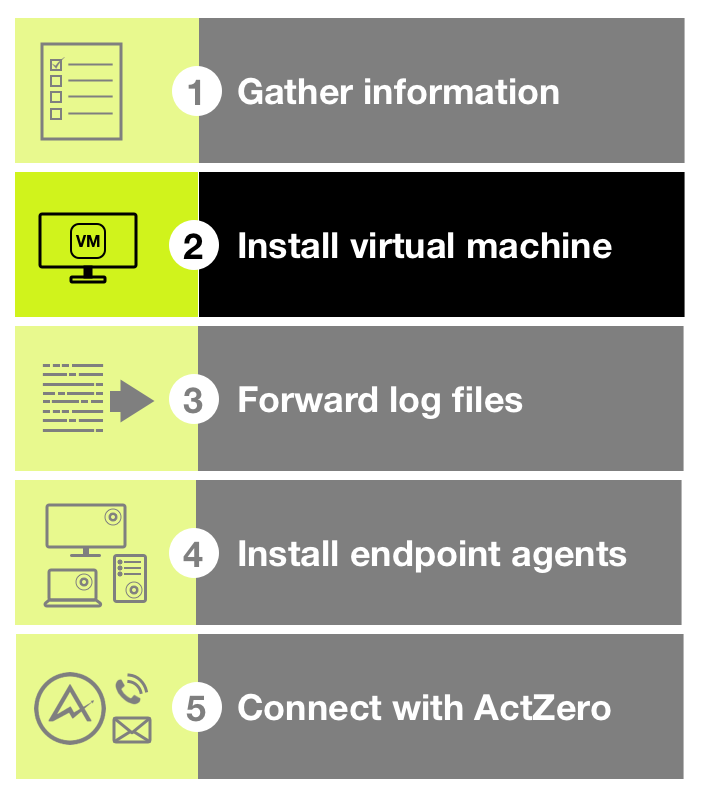
Use the following instructions to provision a VM by installing a guest operating system in AWS. Setting up an ActZero VM is the second step in the overall ActZero onboarding process; refer to Get Started for an outline of the onboarding steps.
Prerequisites:
Prior to launching the instance, the AWS account must be subscribed to Canonical Ubuntu 20.04 from the AWS Marketplace.
To subscribe:
- Perform a search for the term "AWS Marketplace" in the AWS Console's search bar at the top
- Click on "AWS Marketplace Subscriptions"
- Click on the hamburger menu icon on the top-left corner to expand the menu
- Click on "Discover products"
- Under "Search AWS Marketplace products", type in the following: "Ubuntu 20.04 LTS - Focal"
- Click on "Ubuntu 20.04 LTS - Focal"
- The byline should read: "Canonical Group Limited"
- Click on the yellow "Continue to Subscribe" button
- Click on "Accept the Terms"
The subscription will take a couple of minutes. Once "Effective date" and "Expiration date" fields are populated, proceed to the next step.
Install a VM on AWS
-
AWS ActZero VMs are made available via a private Amazon Machine Image (AMI). To ensure the correct image is available, please provide your Technical Account Manager with the AWS account number and AWS region that the VM will be deployed in.
-
Once the ActZero AMI has been shared with you:
- Log in to the AWS account the VM will be deployed in - ensure you select the appropriate region in the top right side of the AWS console
-
Navigate to EC2 > AMIs
-
Next to the Search field, there is a dropdown box. Select "Private images"
-
Search for "client-vm-ubuntu"
-
Note the AMI ID as it is needed in the next steps
-
-
Navigate to CloudFormation > Create Stack
-
Select "Template is ready"
-
Select "Upload a template file"
-
Click "Choose file" and select the "log-collector-vm-deploy.yml" file received from your Technical Account Manager
-
Click "Next"
-
Enter a name in the "Stack name" field
-
In the "Parameters" section:
-
Select a VPC from the drop-down box
Note: This VPC must have outbound network connectivity via a NAT gateway or NAT instance -
Select a private subnet in the chosen VPC from the drop-down box to deploy the EC2 instance into
Note: If this VM instance will be used as a vulnerability scanner, the VPC/subnet chosen should have access to all of the subnets/networks to be targeted in the scans -
In the next field, enter the AMI ID from Step 3
-
Enter the Tenant ID provided by your Technical Account Manager
-
Select an existing SSH keypair you wish to use
Note: If this field is left blank, a keypair will be created, but the private key will not be saved and the instance will not be accessible via SSH -
Enter your AWS Organization ID if applicable - if not, leave blank
-
If Cloud Hygiene/Cloud Security Posture Management (CSPM) is desired, select "true" in the "CloudHygieneEnabled" field, otherwise select "false"
-
Leave the remaining fields as-is - they contain required default values
-
Click "Next
-
-
Add any desired tags and then click "Next"
-
Review the configuration, and if all looks good, check the box to acknowledge the IAM capabilities that will be created and click "Submit"
-
The stack deployment will take a few minutes and the stack status will display as "CREATE_COMPLETE" once successful
-
-
Once the stack has deployed successfully, wait a few minutes until the VM is available
-
SSH to the VM using the SSH appropriate key and the username "ubuntu"
-
Once logged in, run the command
sudo ifconfig prod
This will check for the existence of the VPN connection and will show the virtual interface prod configuration.
-
If the output looks like:
prod: error fetching interface information: Device not found
then there was an issue establishing the VPN connection. Please have your Technical Account Manager escalate to support.
-
Go further
- Set up log forwarding on all the firewalls in your network infrastructure.
Was this documentation helpful? Please send us your feedback!