Install an ActZero endpoint agent
An agent is a program that works on behalf of ActZero to perform continuous, autonomous actions to monitor activity on an endpoint. Some examples of endpoints are desktop computers, mobile devices, tablets, and servers. ActZero uses CrowdStrike software for its endpoint agents. Each agent transmits metadata about endpoint activity to ActZero so Threat Hunters and ActZero AI can detect suspicious or malicious behavior.
Important:
Considering a switch between Defender and Crowdstrike, or vice-versa? Please note:
- Changes to your contract and pricing may apply.
- New onboarding in the portal won’t be active by default.
For details or to make the switch, contact your ActZero account team.
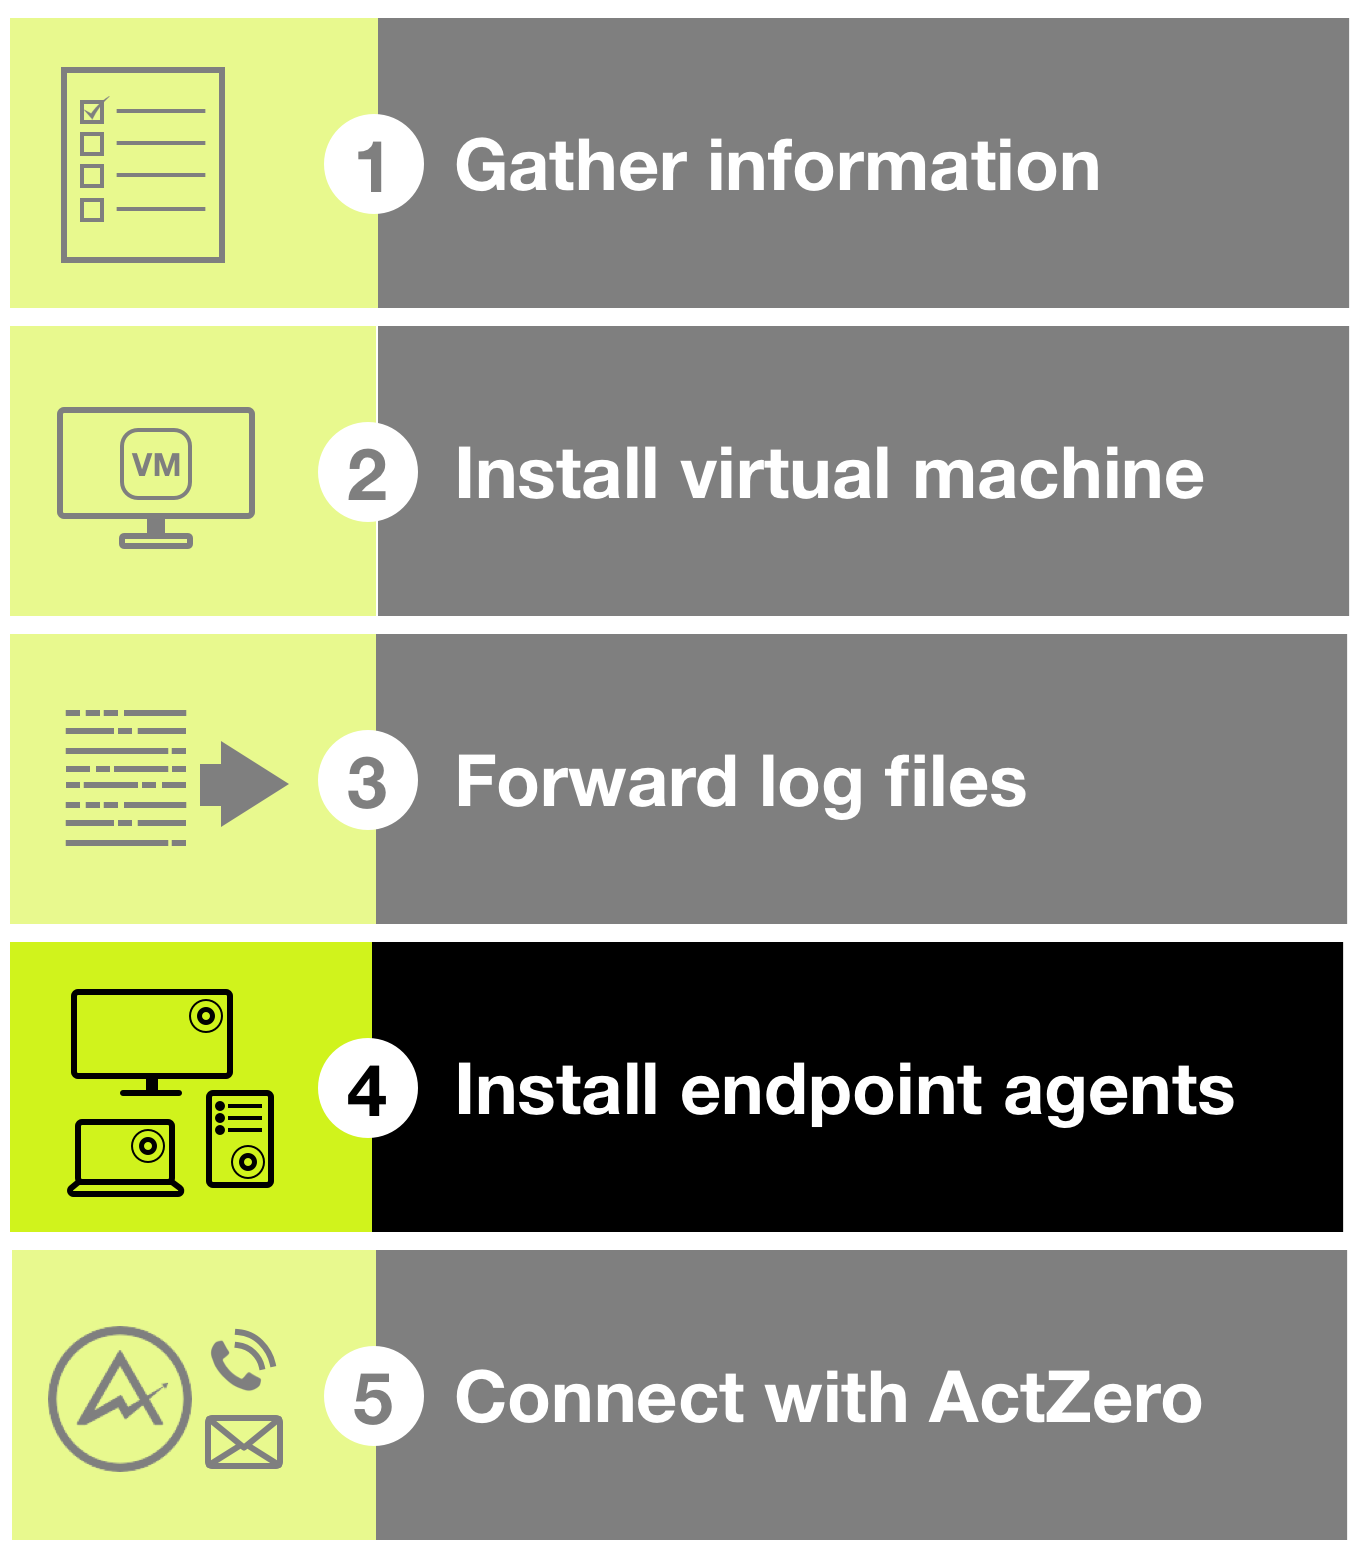
Use these instructions to install an agent on an endpoint and verify that it is functioning properly. Installing agents on your endpoints is the fourth step in the overall ActZero onboarding process; refer to Get Started for an outline of the onboarding steps.
Install for Windows
Before installing the endpoint agent, ensure that the endpoint prerequisites have been reviewed and confirmed.
Install
- From an ActZero Threat Hunter, obtain your customer ID (CID), also referred to as a customer ID checksum.
- Download the Windows installer:
https://agent.actzero.ai/crowdstrike-installer-windows.exe - Double-click the downloaded executable file to open the installer. When the Installer Setup window appears, enter your customer ID, accept the end user license agreement, then click INSTALL.
OR
From the command-line interface, run the following command:
$ crowdstrike-installer-windows.exe /install /quiet /norestart CID=<CID> - The agent does not have a graphical user interface, so to ensure that it is working properly, use the command-line interface to confirm that the
STATEisRUNNING.
Command:
$ sc query csagent
Output:
SERVICE_NAME: csagent
TYPE               : 2  FILE_SYSTEM_DRIVER
STATE              : 4  RUNNING
                      (STOPPABLE, NOT_PAUSABLE, IGNORES_SHUTDOWN)
WIN32_EXIT_CODE    : 0  (0x0)
SERVICE_EXIT_CODE  : 0  (0x0)
CHECKPOINT         : 0x0
WAIT_HINT          : 0x0
Troubleshoot
Problem:
The installation does not complete successfully.
Solution:
Your endpoint device or machine must remain connected to the CrowdStrike cloud throughout the installation which is usually about ten minutes. If the install process takes longer than ten minutes, use this command to install with an extended timeout limit of one hour.
$ crowdstrike-installer-windows.exe /install /quiet /norestart CID=<CID> ProvWaitTime=3600000
Install for macOS
ActZero strongly recommends that you install the MDM profile before installing the agent. You can install the agent without installing the MDM profile if you wish, but there are more settings to manually adjust or approve on your system.
Before installing the endpoint agent, ensure that the endpoint uses one of the following supported operating systems:
| macOS version | Falcon end of support date |
|---|---|
| macOS Ventura 13.0 and later | December 31, 2025 |
| macOS Monterey 12.0 and later | December 31, 2024 |
| macOS Big Sur 11.0 and later | December 31, 2023 |
Prerequisite: Setup an MDM profile
Falcon sensor for Mac version 6.11 and later requires these host authorizations to be specified in a profile:
- Authorization for the Falcon system extension, which is required for hosts running macOS Big Sur 11.0 and later. Apple requires system extensions to be approved before they can be loaded.
- Configuration for the Falcon network filter extension, which is required for hosts running macOS Big Sur 11.0 and later.
- Full Disk Access (FDA) to Falcon. This is a requirement.
Caution: For hosts using Apple M1 chips, kernel extensions are not supported. You must use a profile that does not include authorization for the CrowdStrike kernel extension. Pay close attention to the notes when setting up the MDM profile.
For improved security and privacy, Apple doesn't allow profiles to be deployed outside of an MDM solution. We strongly recommend you use an MDM solution to distribute the profile to your endpoints prior to the deployment process. If you don't use an MDM solution to distribute the necessary profile to endpoints prior to installation or upgrade to sensor version 6.11 and later, multiple authentication confirmations from the OS occur on the host and must manually be approved. See Alternate installation method: Installing without using an MDM to sync profiles.
These authorizations are only required once. Subsequent upgrades using the built-in upgrade functionality of the sensor will not require additional confirmation approvals on the host.
Using the provided MDM profile for endpoints on Intel processors
For endpoints on Intel or M1 processors, we provide a profile with all necessary authorizations to properly run the sensor on all supported versions of macOS. We strongly recommend you use an MDM solution to distribute the profile to your endpoints prior to the deployment process. You can upload this profile to an MDM server and push it out to all endpoints. This profile is also backwards compatible with sensor versions earlier than 6.11 so you can deploy it any time prior to installing or upgrading to sensor version 6.1x.
- For endpoints on Intel processors use this profile
- For endpoints on M1 processors use this profile
Unique MDM profile requirements for Sequoia
Create and deploy the provided profile for sensor deployments on Sequoia. This profile ensures your users will not be able to uninstall the sensor from the System Settings.
Note: The profile is applicable to all versions of Mac hardware.
- Customize this profile with your organization's unique values.
Creating an MDM profile with necessary properties
When creating your own profile, you must specify MDM properties to approve the needed macOS extensions and to approve full disk access.
Payload: SystemExtensions
| Property | Value |
|---|---|
| AllowedSystemExtensions | Dict: {Key: X9E956P446Value: com.crowdstrike.falcon.Agent} |
| AllowUserOverrides Caution: If any SystemExtensions payload has a value of false for an AllowUserOverrides property, manual end user approval of non-specified system extensions will not be permitted. |
true |
Payload: com.apple.servicemanagement
Note: This payload is for Ventura
| Property | Value |
|---|---|
| Rules | Array [ {Key:RuleType,Value:BundleIdentifier, Key:RuleValue,Value:com.crowdstrike.falcon.UserAgent}, {Key:RuleType,Value:TeamIdentifier, Key:RuleValue,Value:X9E956P446} ] |
Payload: WebContentFilter
| Property | Value |
|---|---|
| FilterDataProviderBundleIdentifier | com.crowdstrike.falcon.Agent |
| FilterDataProviderDesignatedRequirement | identifier "com.crowdstrike.falcon.Agent" and anchor apple generic and certificate 1[field.1.2.840.113635.100.6.2.6] and certificate leaf[field.1.2.840.113635.100.6.1.13] and certificate leaf[subject.OU] = "X9E956P446" |
| FilterGrade | inspector |
| FilterPackets | false |
| FilterSockets | true |
| FilterType | Plugin |
| Organization | CrowdStrike Inc. |
| PluginBundleID | com.crowdstrike.falcon.App |
Approving Full Disk Access using MDM
To approve Full Disk Access, use the Privacy Preferences Policy Control payload with a SystemPolicyAllFiles property and specify this information in XML format:
<dict>
    <key>SystemPolicyAllFiles</key>
    <array>
        <dict>
            <key>Allowed</key>
            <true/>
            <key>CodeRequirement</key>
            <string>identifier "com.crowdstrike.falcon.Agent" and anchor apple generic and certificate 1[field.1.2.840.113635.100.6.2.6] /* exists */ and certificate leaf[field.1.2.840.113635.100.6.1.13] /* exists */ and certificate leaf[subject.OU] = X9E956P446</string>
            <key>Comment</key>
            <string></string>
            <key>Identifier</key>
            <string>com.crowdstrike.falcon.Agent</string>
            <key>IdentifierType</key>
            <string>bundleID</string>
            <key>StaticCode</key>
            <false/>
        </dict>
        <dict>
            <key>Allowed</key>
            <true/>
            <key>CodeRequirement</key>
            <string>identifier "com.crowdstrike.falcon.App" and anchor apple generic and certificate 1[field.1.2.840.113635.100.6.2.6] /* exists */ and certificate leaf[field.1.2.840.113635.100.6.1.13] /* exists */ and certificate leaf[subject.OU] = X9E956P446</string>
            <key>Comment</key>
            <string></string>
            <key>Identifier</key>
            <string>com.crowdstrike.falcon.App</string>
            <key>IdentifierType</key>
            <string>bundleID</string>
            <key>StaticCode</key>
            <false/>
        </dict>
    </array>
</dict>
Install with MDM profile
-
Download the macOS Mobile Device Management (MDM) profile or create your own using the steps above.
CPU Type Mobile Config Intel based FalconProfile.mobileconfig M1 based FalconProfile-noKext.mobileconfig -
Push the MDM profile with your deployment tool of choice.
- From an ActZero Threat Hunter, obtain your customer ID (CID), also referred to as a customer ID checksum.
- Download the endpoint agent installer:
https://agent.actzero.ai/crowdstrike-installer-mac.pkg - Double-click the downloaded package file to open the installer, then follow the installer instructions to complete the installation.
OR
From the command-line interface, run the following command, replacing<yourfilepath>with the path of the package on your local system, which is likely Downloads:
$ sudo installer -verboseR -package <yourfilepath>/crowdstrike-installer-mac.pkg -target / - When the system prompts you, enter your administrator login credentials to complete the installation.
- From the command-line interface, run the following command to provide the customer ID (CID), replacing
<CID>with the customer ID checksum you obtained from ActZero:
sudo /Applications/Falcon.app/Contents/Resources/falconctl license <CID> - The agent does not have a graphical user interface, so to ensure that it is working properly, run the following from the command-line interface:
Command:
$sudo /Applications/Falcon.app/Contents/Resources/falconctl stats
The command-line interface output lists details about the sensor, including its agent ID (AID), version, and customer ID.
Install without MDM profile
- From an ActZero Threat Hunter, obtain your customer ID (CID), also referred to as a customer ID checksum.
- Download the endpoint agent installer:
https://agent.actzero.ai/crowdstrike-installer-mac.pkg - Double-click the downloaded package file to open the installer, then follow the installer instructions to complete the installation.
OR
From the command-line interface, run the following command, replacing<yourfilepath>with the path of the package on your local system, likely Downloads:
$ sudo installer -verboseR -package <yourfilepath>/crowdstrike-installer-mac.pkg -target / - When the system prompts you, enter your administrator login credentials to proceed with the installation.
- From the command-line interface, run the following command to provide the customer ID (CID):
$ sudo /Applications/Falcon.app/Contents/Resources/falconctl license <CID> - When a message appears and asks to filter network content, click Allow.
- When the System Exension Blocked pop up appears, click Open Security Preferences. (If the message disappears, find it in System Preferences > Security & Privacy.)
- In the General tab, click Allow; this approves the CrowdStrike kernel extension. You have 30 minutes to approve the kernel extension. After 30 minutes, reboot the device or machine to display the prompt again.
- To grant the agent Full Disk Access, navigate to System Preferences > Security & Privacy.
- In the Privacy tab, click the lock icon to enable changes, then, in the left pane, select Full Disk Access.
- Click the plus icon in the right pane. In the Finder that appears, locate the Falcon.app in your Applications folder, then click Open. Falcon.app appears as a checked item in the list of apps in the right pane.
- In the right pane, check the box for Agent.
- Click the lock icon to prevent further changes.
- The agent does not have a graphical user interface, so to ensure that it is working properly, run the following from the command-line interface:
Command:
$ sudo /Applications/Falcon.app/Contents/Resources/falconctl stats
The command-line interface output lists details about the sensor, including its agent ID (AID), version, and customer ID.
Install for Linux
Standard Install
The Falcon sensor supports Linux servers and desktops running supported long term support (LTS) kernels. Other kernel version, such as custom or hardware enablement (HWE) are unsupported. For more information on Linux kernel support see the Falcon-Kernel-Check tool.
You can install the Falcon sensor for Linux by completing these steps.
For information about other installation considerations, see Advanced installation options.
-
Download the CrowdStrike sensor installer specific to your Linux distribution:
Note: The installer files for Debian and Ubuntu are the same.
-
Verify the host kernel is compatible by using the Falcon-Kernel-Check tool.
- From an ActZero Threat Hunter, obtain your customer ID (CID), also referred to as a customer ID checksum.
-
Run the installer, substituting
<installer_filename>with your installer's file name.Installing the sensor requires
sudoprivileges.- Ubuntu:
sudo dpkg -i <installer_filename> - RHEL, CentOS, Amazon Linux:
sudo yum install <installer_filename> - SLES:
sudo zypper install <installer_filename>
- Ubuntu:
-
Set your CID on the sensor, substituting
<CID>with your CID. This step is not required for versions 4.0 and earlier.- All OSes:
sudo /opt/CrowdStrike/falconctl -s --cid=<CID>
- All OSes:
-
Start the sensor manually. This step is not required for versions 4.0 and earlier.
- Hosts with SysVinit:
service falcon-sensor start - Hosts with Systemd:
systemctl start falcon-sensor
- Hosts with SysVinit:
Advanced Installation
Secure Boot Hosts
Hosts with Secure Boot enabled require a CrowdStrike public key to load signed kernel modules. If Secure Boot is enabled without the CrowdStrike public key, the Falcon sensor will run in Reduced Functionality Mode (RFM).
Hosts with Secure Boot enabled will see a similar message in dmesg:
[    0.000000] secureboot: Secure boot enabled
[    0.000000] Kernel is locked down from EFI secure boot; see man kernel_lockdown.7
Requirements for Hosts with Secure Boot
- Ubuntu 18.04 or later, RHEL/CentOS, or SUSE/SLES
-
OpenSSL
-
Ubuntu:
apt-get install openssl -
RHEL/CentOS:
yum install openssl -
SUSE/SLES:
zypper install openssl
-
-
Mokutil
-
Ubuntu:
apt-get install mokutil -
RHEL/CentOS:
yum install mokutil -
SUSE/SLES:
zypper install mokutil
-
-
crowdstrike_signing.x509 public signing key, Linux Sensor code signing certificate, 2021, available for download from Tools Download
Installing on hosts with Secure Boot
-
Import CrowdStrike's public signing key.
-
Using
mokutil, import crowdstrike_signing.x509 _public key to _MOK.der:mokutil --import <yourpath>/crowdstrike_signing.x509Where
<yourpath>is where you’ve saved the certificate. -
Create a mokutil password. It’s needed to enroll the key later, and is separate from your root/system password.
-
-
Reboot the host.
-
When prompted during the reboot, enroll the machine-owner key (MOK) using the OS menu.
- On Ubuntu, this prompt appears before the GRUB menu.
- The password used in this step is the one you defined when using mokutil to import CrowdStrike's public signing key.
-
Verify that CrowdStrike's signing key was added to the kernel:
sudo cat /proc/keys | grep crowdstrikeThe output should include information about CrowdStrike's key, such as:
asymmetri Crowdstrike, Inc: www.crowdstrike.com: <hash>: X509.rsa
Hosts with Secure Boot don't run in RFM after importing CrowdStrike's signing key.
Validate CrowdStrike is running
To validate that the Falcon sensor for Linux is running on a host, run this command at a terminal:
ps -e | grep falcon-sensor
You'll see output similar to this:
[root@centos6-installtest ~]# sudo ps -e | grep falcon-sensor
   905 ?         00:00:02 falcon-sensor
Troubleshoot
Ubuntu installation fails: "Dependent Packages are not Installed"
Issue
Your Ubuntu installation fails with an error that "dependent packages are not installed."
Solution
Use this command to install the dependent packages:
$ apt-get -f install
SLES installation fails: "Nothing Provides Openssl"
Issue
Your SLES installation fails with an error that nothing provides openssl1 >= 1.0.1. This is most commonly caused by a SLES version that doesn't include a modern OpenSSL implementation.
Solution
- Enable the SLES 11 security module:
$ sudo zypper mr --enable SLE11-Security-Module - Run the sensor installer again.
Verifying that dependencies are Installed
Issue
Your installation fails with an error message about missing dependencies of libssl, libc, or libcrypto.
--> Missing Dependency: libssl.so.10()(64bit) is needed by package falcon-sensor-1.0.3-1.e16x86_64 (/falcon-sensor-1.0.3-1.e16.x86_64)
Error Missing Dependency: libc.so.6(GLIBC_2.7)(64bit) is needed by package falcon-sensor-1.0.3-1.e16x86_64 (/falcon-sensor-1.0.3-1.e16.x86_64)
Error Missing Dependency: libcrypto.so.10()(64bit) is needed by package falcon-sensor-1.0.3-1.e16x86_64 (/falcon-sensor-1.0.3-1.e16.x86_64)
Solution
Install a supported version of OpenSSL; version 1.0.1e or later.
Verify the sensor files on disk
If the sensor is not running, verify that the sensor's application files exist on your host:
$ sudo ls -al /opt/CrowdStrike /opt/CrowdStrike/falcon-sensor
This should be a symlink to either:
- the original sensor installation at
/opt/CrowdStrike/falcon-sensor - a sensor update package with a release build number, such as
/opt/CrowdStrike/falcon-sensor3000
Verify the sensor is connected to the CrowdStrike cloud
You can verify that the host is connected to the CrowdStrike cloud via command line on the host:
$ sudo netstat -tapn | grep falcon
If the Falcon sensor is communicating with the cloud, you'll see output like this:
tcp        0      0    192.0.2.176:35382       ec2-54-148-96-12:443
ESTABLISHED 3228/falcon-sensor
Installing in a virtual environment
VDI Environment (Golden Image)
When installing agents in a Virtual Desktop Infrastructure (VDI) environment, it will run from a shared read-only OS image.
CrowdStrike will assign a unique AID (Agent ID) based on the host's fully qualified domain name (FQDN) and other characteristics.
To install the agent for Windows on your VDI golden image follow these instructions:
- Put the image template system into read/write mode.
- Install the agent using the
VDI=1parameter.- Example:
crowdstrike-installer-windows.exe /install /quiet /norestart CID=<CID> VDI=1 - Replace
<CID>with your CID - After the installation is complete, the sensor communicates with the cloud and updates to the sensor version defined in the host’s assigned Sensor Update policy
- Example:
- After the sensor is on the proper version, switch your template system back to read-only mode and save the image.
Virtual Machine Template
When virtual hosts are built off of an image or a template is being cloned, use a virtual machine template. Please note the following when installing on a virtual machine template:
- Do not use a standard installation on a virtual machine.
- If you perform a standard install on a template, all VMs created from that template will be assigned the same Agent ID (AID).
- If the same AID is inadvertently assigned to more than one VM, events and detections from your various VMs would appear to be from a single host.
Template VM systems require a specific policy to be applied to ensure the resulting images are processed correctly in CrowdStrike.
In order to achieve this, a customer must provide a list of Template VM systems to ActZero. These systems will generate a sensor tamper protection alert when being created or updated.
Installing the sensor on a VM template
- Complete all steps required to generalize the VM template, such as sysprep or installing Windows and software updates.
- Install the Falcon sensor using the
NO_START=1parameter.- Example:
crowdstrike-installer-windows.exe /install CID=<CID> NO_START=1 - Replace
<CID>with your CID - After installation, the sensor does not attempt to communicate with the CrowdStrike cloud.
- Don't reboot the host, or it will attempt to communicate with the CrowdStrike cloud on reboot.
- Example:
- Confirm that the installation is complete.
- Shut down the VM and convert it to a template image.
Modifying a VM template
To modify a VM template that contains an existing sensor installation:
- Prepare your VM template.
- If sensor tamper protection is enabled, provide the VM template hostname to ActZero so it can be added to the VM Template Policy. This will disable sensor tampering protection for the VM template.
- Delete these registry values:
HKEY_LOCAL_MACHINE\SYSTEM\CrowdStrike\{9b03c1d9-3138-44ed-9fae-d9f4c034b88d}\{16e0423f-7058-48c9-a204-725362b67639}\Default\AGHKEY_LOCAL_MACHINE\SYSTEM\CurrentControlSet\Services\CSAgent\Sim\AG
- Shut down the VM.
- Convert the VM to a template image using your virtualization software.
Linked or Instant Clones
Installing the sensor on Linked or Instant Clones
Install the sensor on non-persistent VDI machines created using Linked or Instant Clones:
- Create the VDI image configured with all the needed software and patches.
-
Once all other software has been installed and the image has been configured to a desired state proceed with installing the Falcon sensor using both
NO_START=1andVDI=1. The command line will look similar to the following example, replacing<CID>with your CID:crowdstrike-installer-windows.exe /install /norestart CID=<CID> VDI=1 NO_START=1 -
The VDI image is then shut down and a snapshot taken.
- The snapshot is then used to create the VDI Pools.
Important Notes:
- Installing the sensor as part of a bundled app process, with something like AppLayering or ZenApp, is not supported. The Falcon sensor uses boot level drivers, and the sensor will need to be installed at the OS or boot level when creating the VDI template.
- The Falcon sensor should be installed last without any reboots being done, before shutting down the image and taking the snapshot. If a reboot is needed during your image process you will want to complete the reboot and install the sensor last, once the images comes back up. This is to ensure that the sensor service is not starting on the VDI image used with linked or instant clones, with the use of
NO_START=1.
Upgrading on Linked or Instant Clones
For the best update experience it is recommended to completely uninstall the sensor from the VDI image, reboot the image and then reinstall with the latest version.
- When the image is brought up for making changes and/or updates uninstall the Falcon sensor.
- Reboot the image to ensure a clean removal of the sensor.
- Once the image is back up apply any other changes and updates that are needed.
- if a reboot is required while updating complete the reboot prior to reinstalling the sensor.
- Reinstall the latest release of the Falcon sensor using both
NO_START=1andVDI=1. - Shut down the VDI image and take a snapshot.
- If the sensor is not uninstalled/rebooted/reinstalled when the image is brought back up to make changes, you will see duplicated hostname entries of both the VDI image and pooled machines.
- If the sensor is not uninstalled and reinstalled on the image when updating, at minimum you will want to ensure the image is left online long enough for the sensor to receive all channel files and any sensor updates, before shutting the image back down. Any duplicated hostnames will still occur on the host management page in the console.
Updating endpoint agents
Endpoint agents that ActZero uses update automatically. You do not need to manually update agents installed on your endpoints.
Was this documentation helpful? Please send us your feedback!