Configure Google Workspace to connect to ActZero
Estimated Time to Complete: 15 minutes
Contact us to learn more about adding Managed Detection & Response (MDR) services to your cloud endpoints.
To enable the ActZero team to monitor your Google Workspace accounts (formerly known as G Suite accounts) endpoints, you need to complete a few steps to configure a connection from your cloud environment to ActZero. Use the instructions below to set up a connection.
As you go, be sure to collect the following pieces of information to use during set up or to securely share with ActZero:
- service account unique ID (to use for OAuth scopes)
- private key JSON file
- API key unique ID
Enable the Google Admin SDK
- Navigate to your Google Cloud Platform (GCP) console.
-
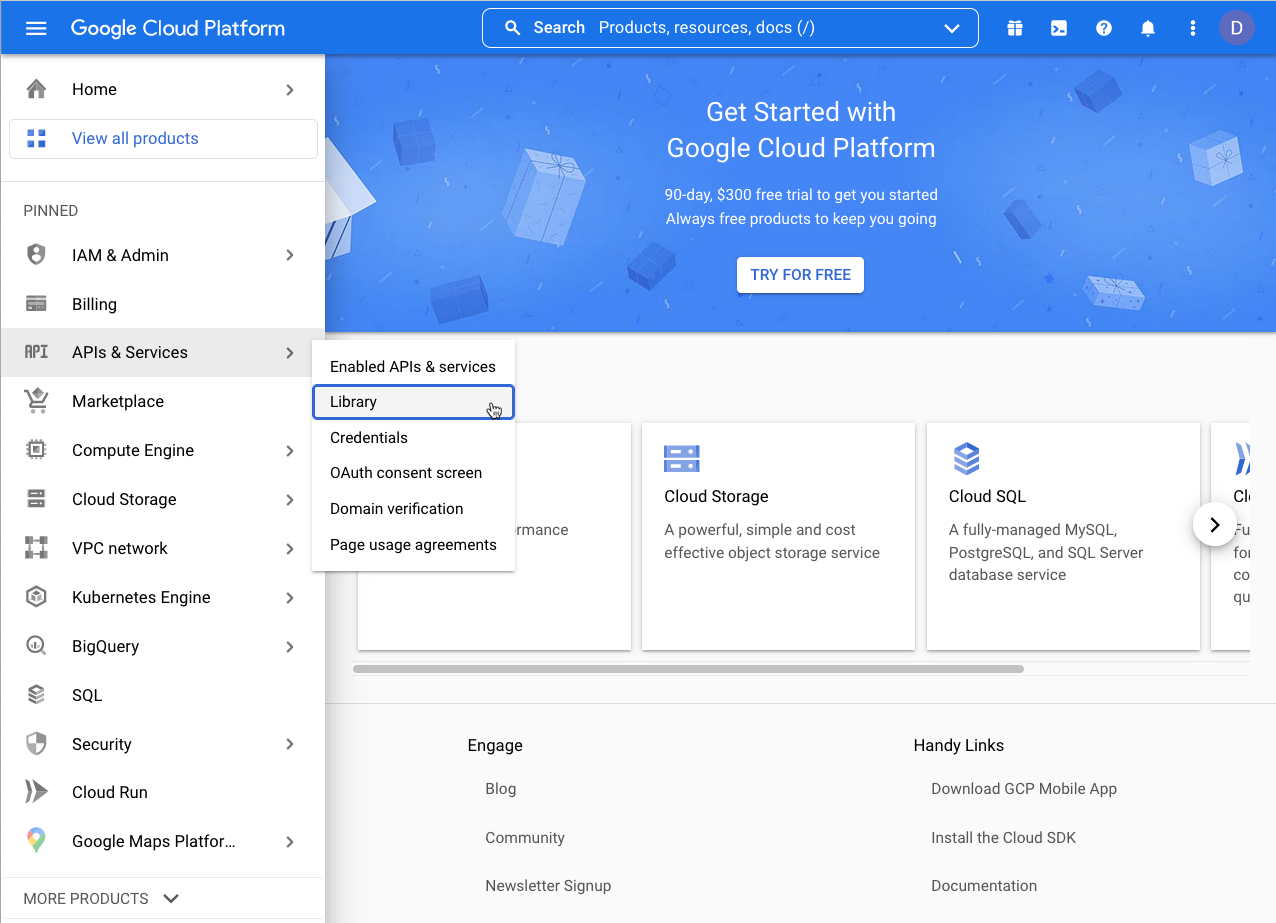
Click the menu icon (three lines), then select APIs & Services > Library.
-
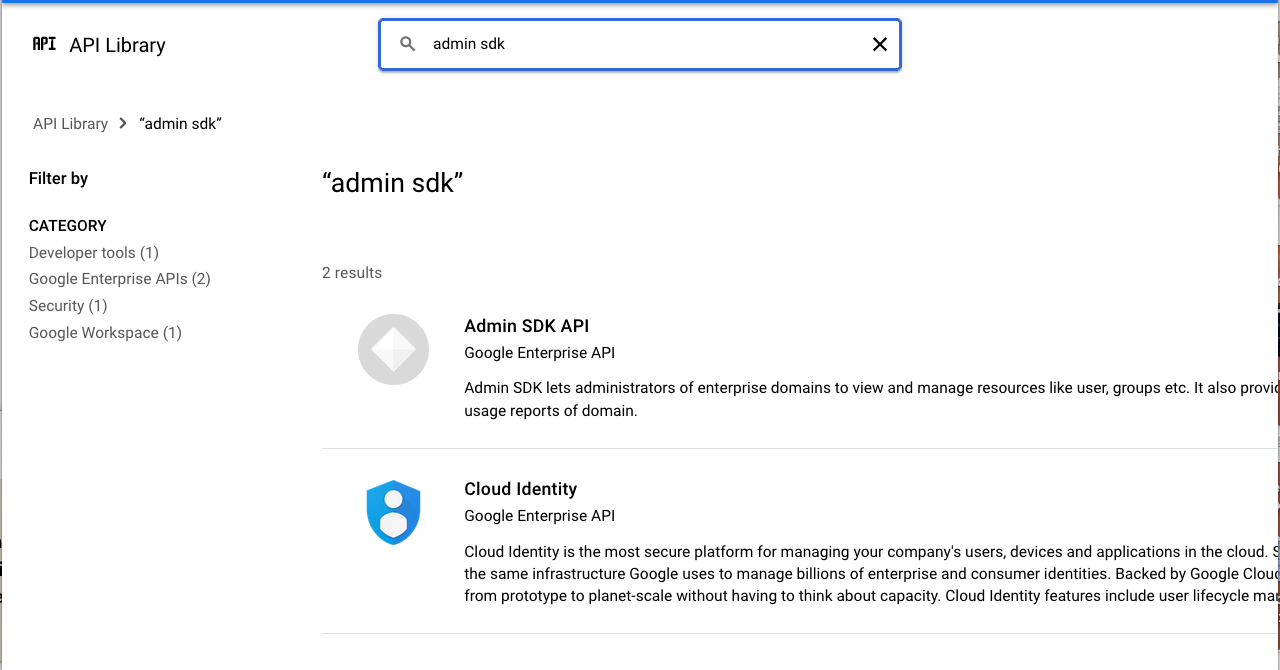
On the API Library page search for admin sdk.
-
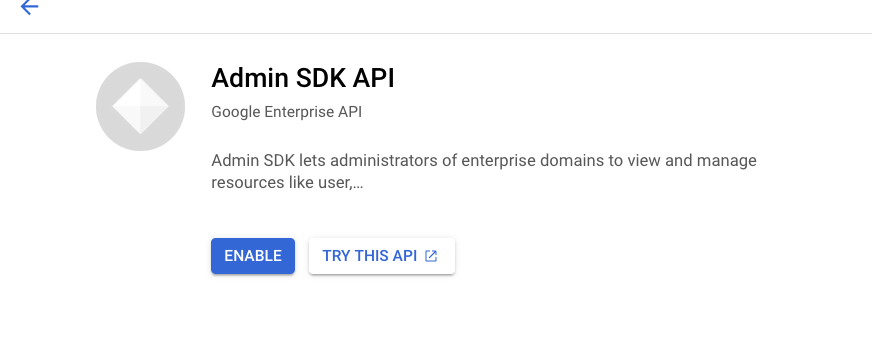
Click Admin SDK and then Enable on the Admin SDK page that appears.
-
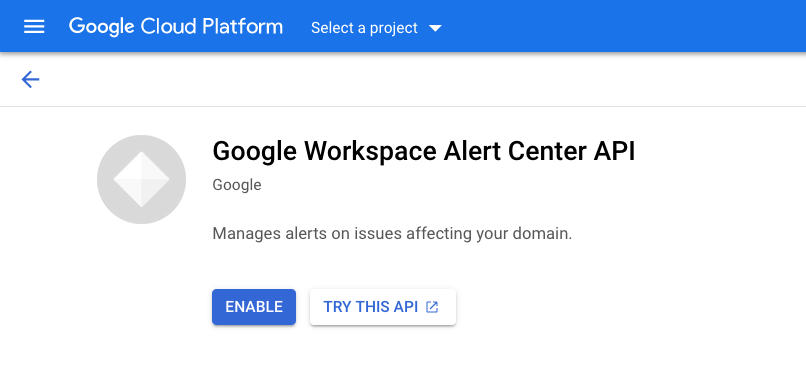
On the API Library page search again for alert center api, and Enable that as well.
Create a Google service account
-
From your GCP console, click the menu icon, then select IAM & Admin > Service Accounts.

-
Click Create Service Account.

-
In the page that appears, input a name and description for the new account, then click Create.
- Optionally, grant any permissions you wish.
-
Click Continue then Done.
-
On the Service account details page, click the new account to view its details.

-
Copy the Oauth2 Client ID to a safe and temporary place in your local environment. You will use it when you add OAuth scopes, below.
Create an API key
-
From your GCP console, click the menu icon, then select IAM & Admin > Service Accounts.

-
Locate the service account you created, then click the more icon (three vertical dots) for the account.

-
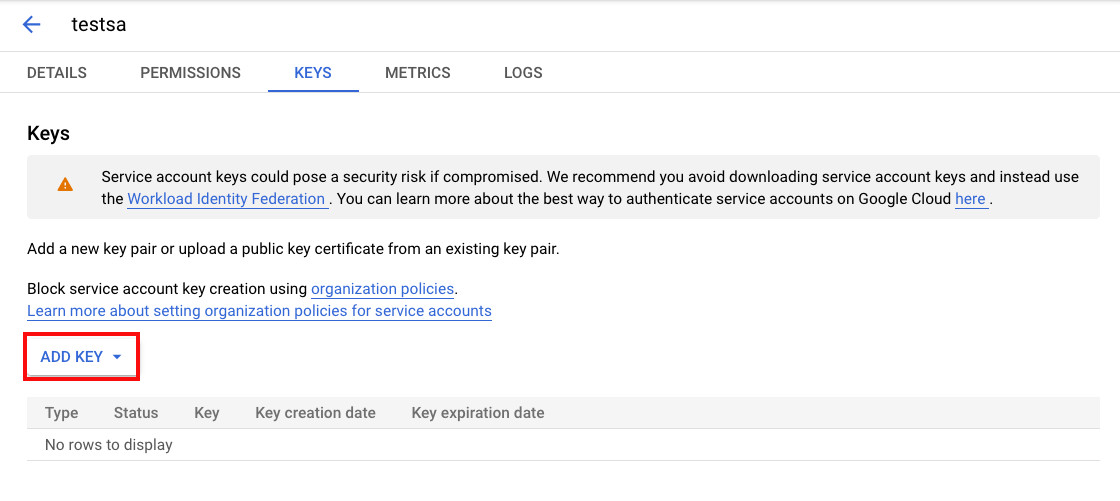
Select Manage keys, click the Add Key menu and select Create new key.
-
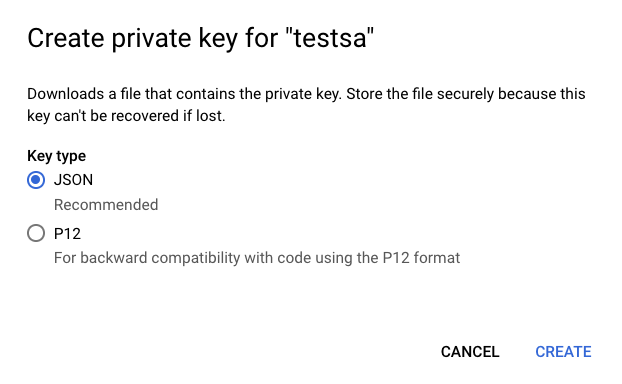
In the Create private key panel, select JSON, then click Create.
-
Your system downloads the private key JSON file. Keep this file in a safe and temporary place in your local environment. Click Close.
-
Exit the Keys screen and return to the Service Account Details page. Click the menu icon, then select Manage Details.
-
In the Service account details page, copy the Unique ID to a safe and temporary place in your local environment.
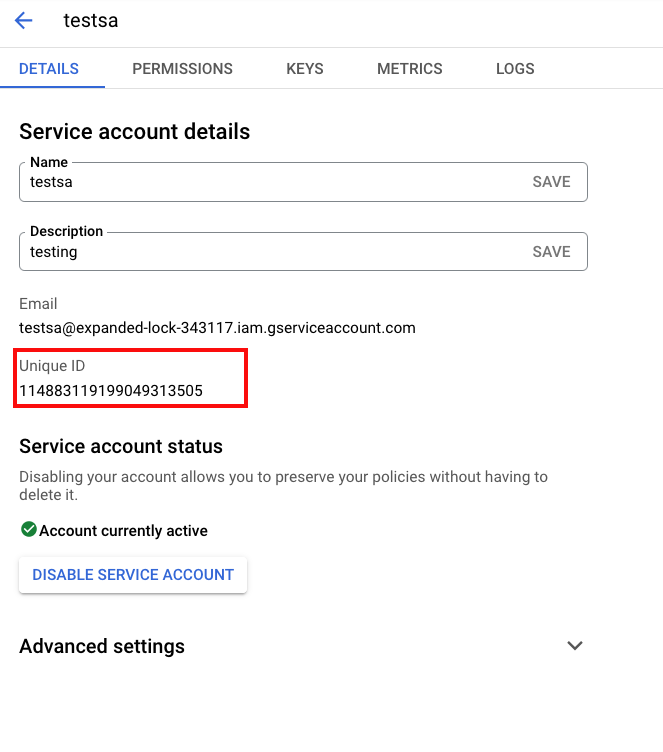
ActZero needs this value; it is different from the Unique ID you copied when you created a Google service account.
Add the Client ID with OAuth scopes
-
Navigate to the Google Admin console.
-
Click the menu icon, then select Security > API Controls > Domain-wide Delegation. The API clients appear.

-
Click Add New. The Add a new client ID screen appears.
-
Enter the Unique ID that you noted when you created a Google service account as the Client ID.
-
Enter the OAuth scopes for the connector:
- for Alert reports, include the scope:
https://www.googleapis.com/auth/apps.alerts - for Application reports, include the scope:
https://www.googleapis.com/auth/admin.reports.audit.readonly
- for Alert reports, include the scope:
-
Click Authorize.
Share with ActZero
- Use Keybase to securely encrypt and share the Admin email along with the two pieces of information you collected. You do not need to create a Keybase account.
- Recipient: actzerocre
- Message to encrypt:
- the admin email (which delegates domain-wide authority to the service account)
- the contents of the private key JSON file
- API key unique ID
- Click Encrypt, then copy the encrypted contents of the message into an email or open ticket with ActZero and send or save.
- Erase the copies of the sensitive information in your local environment.
Was this documentation helpful? Please send us your feedback!